
In Windows 10, 8 or 7, the Windows Update may fail with an error 0x80004005. By the way, how to fix the error 0x80004005? Now, let us find out that solution here.
Fix Error 0x80004005 in Windows 10/8/7
Before applying the methods explained below to troubleshoot the Windows 10 Update error 0x80004005, you need to proceed and apply the steps below and then try to update Windows again.
Step 1: Please make sure that you have signed in Windows with an Administrator account.
Step 2: Ensure that the Date, Time & Regional settings are correct.
Step 3: Also, you need to ensure that you have enough space on your disk (at least 20GB). To free up disk space you are able to use the Disk Cleanup tool and then follow the instructions.
Step 4: If you have Windows 10 Pro or Enterprise and you have enabled the BitLocker drive protection, then you are able to proceed and decrypt the drive C: before installing the update.
Method 1: Run the Windows 10 Update Troubleshooter.
The first method to fix error 0x80004005 in the Windows update is to run the Windows 10 Update Troubleshooter tool in Administrator mode. The error can occur when an automatic Windows Update fails, or when files downloaded by Windows Update are corrupted or damaged. On Windows 7 or later, the easiest way to fix error with Windows updates is to run the built-in automatic troubleshooter.
- At the first step, you have to navigate to Control Panel > Troubleshooting > Fix problems with Windows Update or download and run the Windows Update Troubleshooter according your Windows version.

- After that, simply restart your PC/computer.
- Lastly, you only need to install the update.
Method 2: Force Windows to remake the Windows Update Store folder.
The second method to solve the error with the updates in Windows is to remake the Windows Update Store folder, which is the location where Windows stores the downloaded updates. To do this, you are able to follow some steps below:
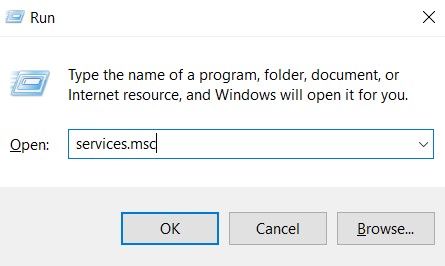
- Firstly, simultaneously you have to press the Windows image + R keys to open run command box.
- In run command box, you are able to type: services.msc and press Enter.
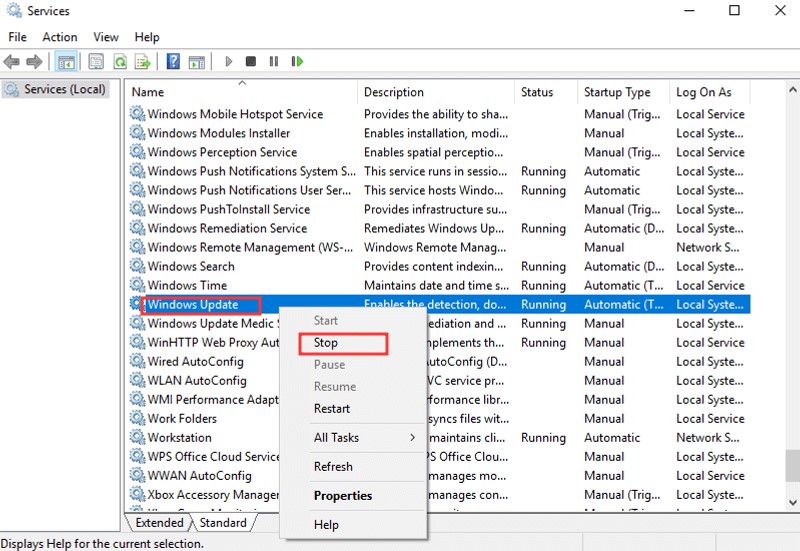
- After that, have to right click on Windows Update service and then choose Stop.
- The next step that you have to do is to open Windows Explorer and navigate to C:\Windows folder.
- Afterwards, you need to choose and remove the Software Distribution folder. (Click Continue at “Folder Access Denied” Window). For note: Next, the Windows Update will be able to run, a new empty Software Distribution folder will be made automatically by Windows to store updates.
- Lastly, just restart your computer and then try to check for updates.
Method 3: Scan your computer for virus or malware.
Before you do this method, you have to ensure that your computer is 100% clean from harmful programs like virus, malware or Rootkits. To accomplish this task, you have to do some methods. These are the quick ways to check your computer for virus, malware, trojan, or rootkits. Then, try to check for updates again.
Start your computer in Safe Mode with Networking.
In order to check your computer for possible virus or malware running on it, it is better to start your computer in Safe mode with Network support. After that, follow the instructions of the steps below, to download and install the suggested malware removal utilities to scan and clean your computer.
To start Windows in Safe mode with Networking:
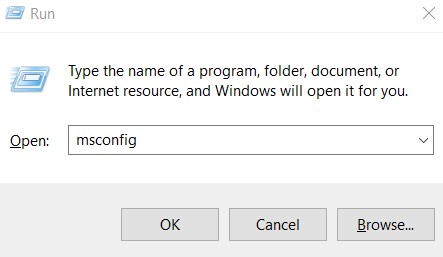
- Simultaneously, you have to press the Win image + R keys to open the run command box.
- After that, you are able to type msconfig and hit Enter.
- The next step, you have to click the Boot tab and then check the Safe Boot & Network options.
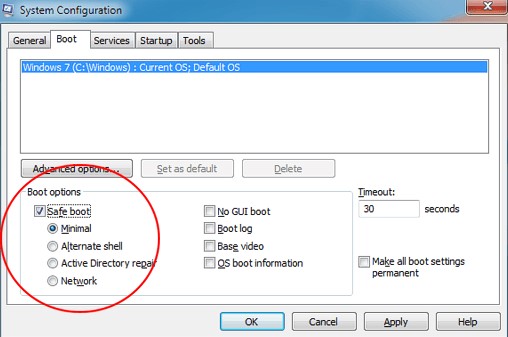
- Please click OK and restart your computer.
After you done, with the malware cleaning, open the System Configuration (msconfig) utility again and at General tab, choose Normal Startup and then click ok to start Windows normally.
Remove Adware programs with AdwCleaner.
- To check your computer for virus or malware with AdwCleaner, you are able to download and save AdwCleaner utility to your desktop. For your information, AdwCleaner is a powerful tool to clean all the Adware, Toolbars, PUP and Hijacker programs from your computer.
- Please close all open programs and then double Click to open AdwCleaner from your desktop.
- After accepting the License Agreement, you have to press the Scan Now button.
- When the scan is completed, simply you are able to press Clean & Repair to delete all the unwanted malicious entries.
- When asked, please click Clean and Restart Now.
- After restart, you need to close AdwCleaner’s information (log) window and then continue to the next step.
Method 4: Solve Windows corruption errors with DISM and SFC tools.
For note: The instructions on this step applies only to Windows 10 & Windows 8. If you have Windows 7, download and run (install) the System Update Readiness tool.
- Firstly, you have to open command prompt as administrator. To do that, you are able to type cmd or command prompt In the Search box type, then right click on the command prompt (result) and choose Run as Administrator.

- At the command prompt window, you have to type the command below and hit Enter.
Dism.exe /Online /Cleanup-Image /Restorehealth
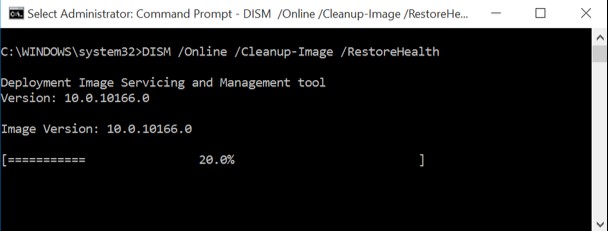
- Please be patient until DISM repairs component store. After the operation is done, you have to be informed that the component store corruption was fixed. Now, you have to use the command below and hit Enter.
SFC /SCANNOW
- After SFC scan is completed, simply you are able to restart your computer.
- The last step, you only need to try to update your system again.
Method 5: Perform a Windows 10 Repair Upgrade
Another method that you can do to fix Windows 10 update issue is to perform a Windows 10 Repair Upgrade, by using the Media Creation tool to make an ISO or USB Windows 10 install media. For that way, please follow the detailed instructions on this section below.
To Perform a Windows 10 Repair-Upgrade:
Step 1: Download Windows 10 ISO file.
To proceed with Windows 10 repair, you have to proceed and download the latest version of Windows 10 in a ISO file by using the Media Creation Tool (MCT). To do that:
- Firstly, navigate to Windows 10 download site.
- After that, you are able to download and save the Windows Media Creation Tool (MCT) on your computer.
- After the download is completed, you have to run the Media Creation Tool (MediaCreationTool.exe).
- The next step that you have to do is to accept the license agreement.
- Now, you have to select ‘Create installation media for another PC’ and then click Next.
- At the next screen, select Next.
For notes:
There is no need to modify anything here. MCT already has already chosen the right version and edition for the current computer.
If you want to make a Windows 10 installation media to repair a different computer, please uncheck the ‘Use the recommended options for this PC’ checkbox, and choose the Windows 10 edition, language, and architecture you wish to download.
- At ‘Choose which media to use’ you have to select ISO file and click Next.
- Please choose a location to save the ‘Windows.iso’ file and simply click Save.
- Lastly, you only need to wait for the download to finish. After this done, simply click Finish and continue to next step.
Step 2: Windows 10 Repair and Upgrade from the Windows ISO file.
For note: To avoid the issues during the Windows 10 installation, you are able to do the following steps, before starting the Windows 10 upgrade or repair process:
- Firstly, disable or better temporarily uninstall any non Microsoft antivirus or security software.
- Please ensure that you have enough space on your disk (at least 30GB).
- After that, you are able to run Disk Cleanup and remove the useless files.
- Now, simply disconnect all the USB peripheral devices that you do not need. Especially in laptops disconnect also any external USB Keyboard or Mouse.
To repair and upgrade the Windows 10:
- Please open Windows Explorer and navigate to the folder you saved the Windows.iso file.
- After that, you have to double-click at the ISO file to mount it in Explorer. Or you are also able to right-click on the ISO file and choose Mount.
- At the mounted drive, you are able to double click at setup.exe application.
- Please press Yes at the ‘UAC warning message’ and then click Next to install Windows 10.
- In this step, you have to accept the license terms and then be patient until Windows checks for updates.
- At ‘Ready to Install’ screen, ensure that the Keep personal files and Apps option is selected and click Install.
- Finally, now you only need to wait for the in-place upgrade or repair of Windows 10 to complete.
For note: If the Windows 10 upgrade is not completed successfully, you are able to continue to the third step to repair Windows 10 from USB.
Step 3: Repair and Upgrade Windows 10 from USB.
To repair (or to clean install) Windows 10 from a USB Media, do these steps below:
- At the first step, you have to plug an empty USB drive (at least 8GB) on your computer.
- After that, you have to burn the Windows.ISO file you downloaded in step 1 to the USB drive. For note: The USB drive will be formatted (removed), during the media creation process. So, ensure that there are no files you may want.
- When done, you are able to run the ‘setup.exe’ application from the USB drive and follow the instructions from the step 2 (3-7), to repair and upgrade Windows 10.
Method 6: Disable Outlook mail notifications.
The error code may occur when Microsoft Outlook tries to notify you of the new messages. If disabling this feature fixes the error, try starting Outlook in Safe Mode. If that works, a simple re-install may solve your problem.
Enable Outlook Email Notifications in Windows 10
To turn on notification banners for the new messages in Outlook with Windows 10:
- Firstly, you are able to open the Start menu.
- After that, choose Settings.
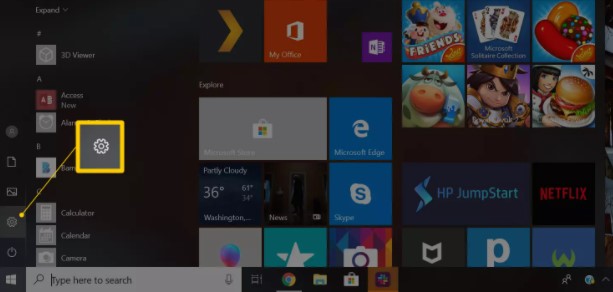
- Choose the System category.
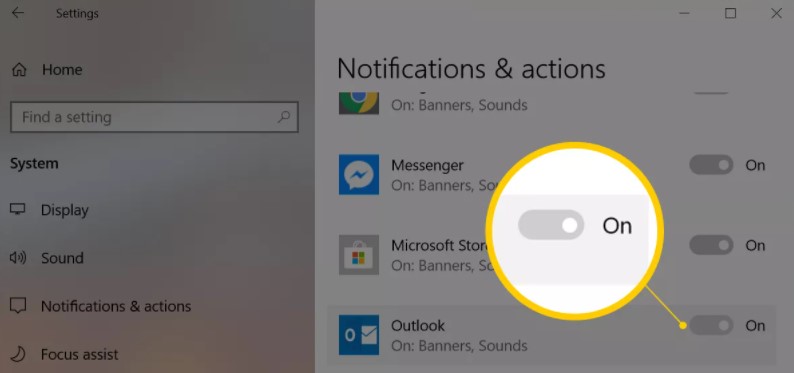
- Choose Notifications & actions.
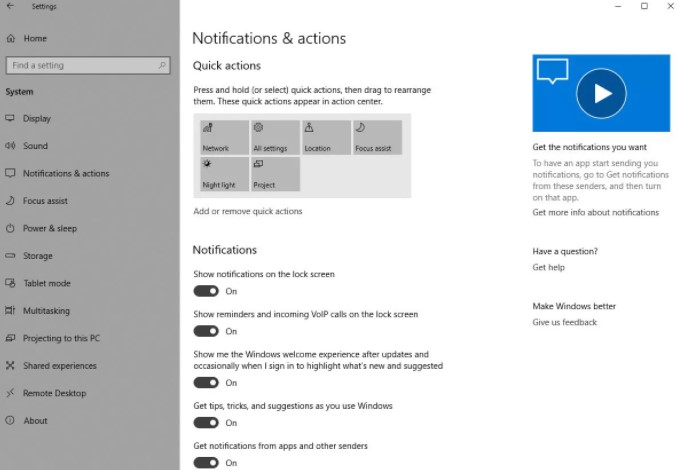
- Then, you are able to scroll down to the Get notifications from those senders section.
- Please scroll to Outlook.
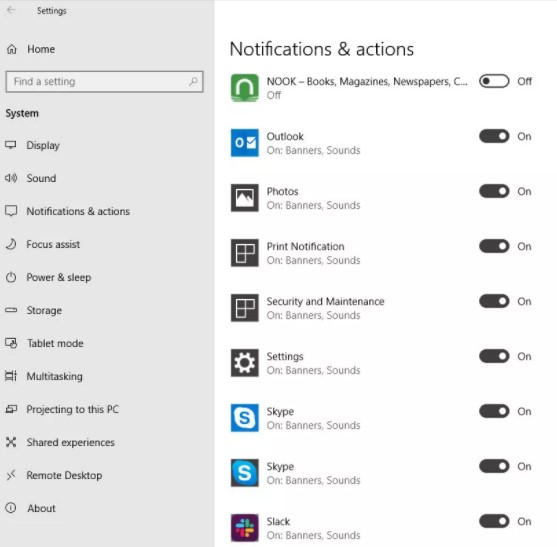
- Now, you have to turn on the Outlook Notifications toggle.
- Choose Outlook.
- Simply, turn on the Show notification banners toggle.
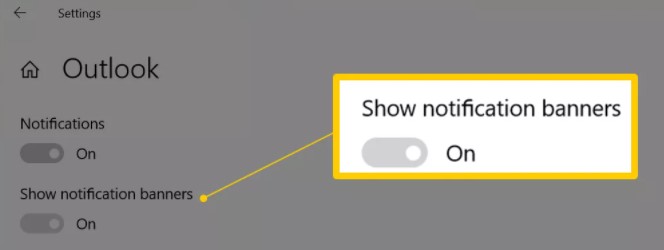
- Lastly, close the Settings window.
Method 7: Disable Windows Defender.
In some cases, antivirus software is able to detect a false positive in connection with the Microsoft Outlook app. If you get an error code 0x80004005 when you are using Microsoft Outlook, and disabling notifications did not help, turning off antivirus software may solve your problem. Also, it can disable Norton Antivirus and other third-party antivirus programs you use.
To disable Windows Defender in Windows 10:
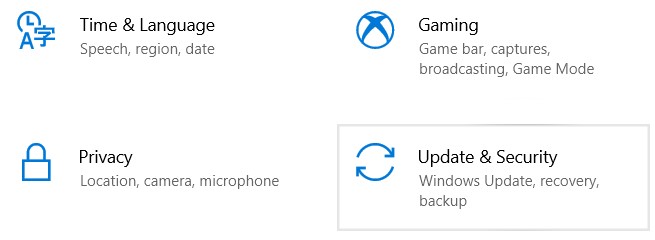
- Firstly, you have to choose the Windows Start Menu, then choose the Settings gear.
- Choose Update & Security in the Windows Settings interface.
- Choose Windows Security in the left menu pane, and then choose Open Windows Security.
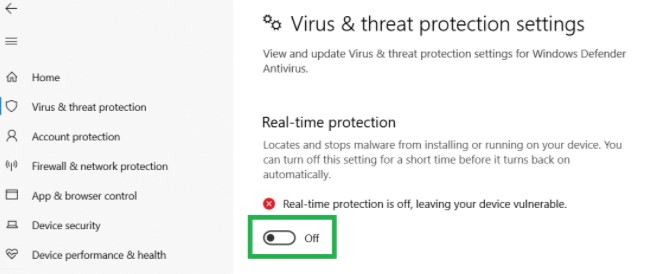
- Next, you have to choose Virus and threat protection.
- Please choose Manage settings under Virus & threat protection settings.

- Choose the Real-time protection toggle so that it is turned to the Off position. If a pop-up ‘window appears prompting if you want to allow the app to create changes to your device, just choose Yes.
- Now, you are able to choose the Cloud-delivered protection and Automatic sample submission toggles so that they are turned to the Off position.

AUTHOR BIO
On my daily job, I am a software engineer, programmer & computer technician. My passion is assembling PC hardware, studying Operating System and all things related to computers technology. I also love to make short films for YouTube as a producer. More at about me…


Leave a Reply