
Modern processors vary the speed of their working hours depending on the temperature and operating conditions, so you may be wondering why you should seek insurance. The answer lies in the silicone lottery. There is a discrepancy in the number of lights and the frequency of explosions that can be used, at least between the controllers of the same type manufactured at the same time in the same company. AMD handles all Ryzen users of the symbolic number provided in one hour, but a simple tweak to a single silicon on your PC can add more.
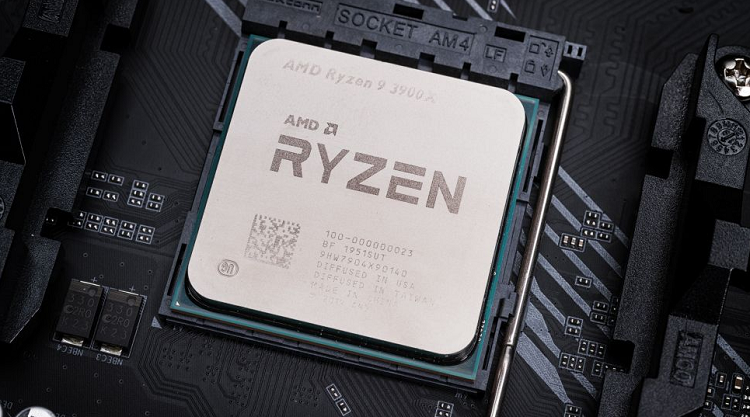
Whatever AMD Ryzen processor you have: From the first-generation Ryzen to the prominent Ryzen 3950X series, there are always options to overclock a few MHz more than the chip. Unlike Intel, which limits overclocking to expensive CPUs and motherboards, you can overclock AMD any Ryzen processor with all chipsets except A320 (works with B350, B450, X370, X470, X570).
While there are nearly complete and automated methods for overclocking AMD Ryzen processors, it is important to note that going beyond the normal operating point carries an inherent risk from system instability to unsuccessful initial part failure. Also, if the processor is damaged due to overclocking, the warranty does not apply.
Step 1: Reset Your Motherboard’s BIOS

You will likely experience itching. However, for now, resist the urge to increase the clock speed. First, it would be nice to get your CPU baseline in your inventory settings. Restart your computer and boot the BIOS by pressing Delete, F2, or any key displayed on the boot screen.
Spend time in BIOS exploring different settings and locations. (On some boards, you may need to go into Advanced or Expert mode to see them all.) Each motherboard manufacturer configures the BIOS differently and may have different names for certain parameters. If you’ve read this guide and don’t know what specific feature your motherboard has, then Google is your friend.
It starts by looking for the Load Optimized Defaults option, usually next to the Save and Exit buttons. This resets the motherboard to default settings so you can start from scratch. However, this means that you need to change the boot order to boot from the correct hard drive.
We also recommend disabling Precision Boost Overdrive, Game Boost, and other built-in features designed to further improve your processor’s performance. You usually don’t need it when manually overclocking. When finished, save your settings, exit BIOS, and reboot into Windows.
Step 2: Run a Stress Test

It is then recommended to do an initial stress test to make sure your default settings are okay and to rule out chip defects or other stability issues that could interfere with overclocking.
Launch OCCT and click the small graph button on the toolbar until you see a table like the one above in the monitoring window. In my opinion, this table is easier to read than the graph and contains all the information you need to monitor your CPU.
In the main OCCT window, click on the CPU: LINPACK tab and set all three fields in the middle (64-bit Linpack with AVX support and all logical cores in use). This will force OCCT to maximize CPU utilization. More than can be seen in normal use. If you are stable at OCCT, you will definitely be stable in day to day tasks.
Press the On button and OCCT will run the stress test. Run it for about 15 minutes and if there is no freeze or blue screen, restart your computer and enter BIOS to overclock.
Step 3: Increase Your CPU Multiplier

The CPU clock speed is the result of two different values: the base clock and the CPU multiplier, which determines the various functions of the motherboard. Most modern chips use a base frequency of 100 MHz, which makes calculations very easy. For example, 100 MHz x 34 gives a Ryzen 5 2600 base clock of 3.4 GHz. Individual cores may be higher, but we will manually overclock all cores. This means that you can get the same speed for all cores no matter how many cores you are currently using.
The easiest way to overclock is to slowly increase the multiplier value. You can also raise the base frequency, but it also affects other system components, making it much more difficult to maintain stability. Today. Look for a multiplier setting (also called core ratio or something), set it to manual or sync all cores, and then select a number for initial overclocking if your BIOS offers that choice.
You may have to research the processor to find a good starting point, but for the Ryzen 2600 we started at 37, which is a few steps higher than the default multiplier of 34. This is a multiplier and is fine during the testing phase.
Step 4: Reset Voltage for Stress Test

Once you’ve set the multiplier, scroll down to the CPU core voltage setting (sometimes called “Vcore”) and set it manually instead of automatic (since automatic tends to be overly aggressive). Again, you might have to look into your processor to find a good starting point, but for the Ryzen 2600 I used a voltage below 1.24V, which I know should be clocked at 3.7GHz.
Save your BIOS settings, reboot, then restart OCCT to run the same 15 minute stress test as before. If it works without issue, reboot into BIOS and increase the multiplier to 1, then repeat the process.
At some point, an error occurs, the computer freezes or displays a terrifying blue screen of death. This means your processor will not be drawing enough voltage to maintain the desired clock speed, so you need to give it a little more power. Go back to BIOS and increase the core voltage by 0.01V, then run the stress test again. That being said, you can write down the results of each stress test in a notebook to track your progress. As with all experiments, it is best to only change one variable at a time.
Also check the CPU temperature when doing a stress test. As the voltage increases, so does the heat inside the processor. You’ll want to take a look at Google to find the CPU temperature limit, but it’s better to make room for breathing below that. If you can keep temperatures below 85 ° C / 185 ° F, it should be a sunny spot, especially since you rarely see temperatures like this in everyday use. Higher temperatures won’t push you to do this, as they can shorten the life of the chip even if it doesn’t reach the actual upper limit of the processor.
It is also a good idea to monitor the clock speed on the left-most panel of the OCCT to make sure it matches the clock speed you set. If it is much lower, the chip may throttle for some reason, and you will have to do a little digging to figure out the problem.

AUTHOR BIO
On my daily job, I am a software engineer, programmer & computer technician. My passion is assembling PC hardware, studying Operating System and all things related to computers technology. I also love to make short films for YouTube as a producer. More at about me…


Leave a Reply