
With the event called the Bungie 30th Anniversary Event comes to an end, there is a lot of new content coming to the game known as Destiny 2. Everyone is able to explore the new Grasp of Avarice dungeon set that is located in the fabled loot cave, along with a six player matchmade activity. Apart from that, there is also a lot of new armor and weapons that can be unlocked or purchased by the users like you. Everything is available for sale in the Eververse store and all of them are tied to the history of the developer.
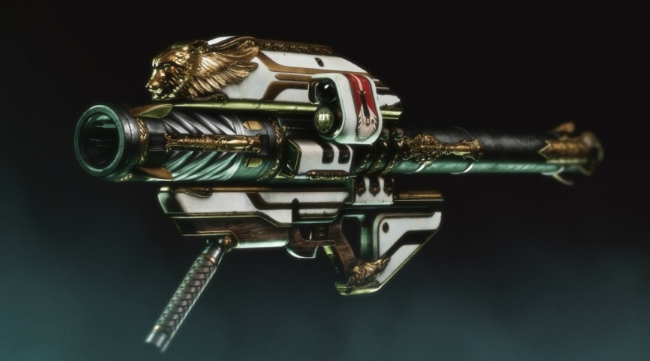
Among the items, the exotic rocket launcher called Gjallarhorn is probably the most exiting one and a lot of people have been waiting for this for so long. The process of unlocking this launcher is not simple and it might take a lot of time. Besides, there is also a catalyst that you can get for this rocket launcher. Before anything, it should be noted that it is important for you to complete the quest called Gjallarhorn first. If you have not done it yet, you can follow a guide that can be found by clicking this link here.
After following the guide to complete the Gjallarhorn quest, you can continue your way to get the Gjallarhorn Catalyst. Then, what should be done to get the Gjallarhorn Catalyst in Destiny 2? After obtaining the Gjallarhorn, the next thing that you will have to do is to go back into the Grasp of Avarice dungeon. It can be hard for you but you still have to at least manage to complete up to the last boss. Keep in mind that your main goal is to kill a total of three yellow bar Reaver Vandals and then give the Burden by Riches debuff that they drop to three different chests that are everywhere throughout the dungeon. Before anything, do not get surprised if you do not get anything after opening the first two chests as it is normal. The one that will give you the Gjallahorn Catalyst as the reward is the third one. Please unlock the third one to claim your reward.
Chest 1:
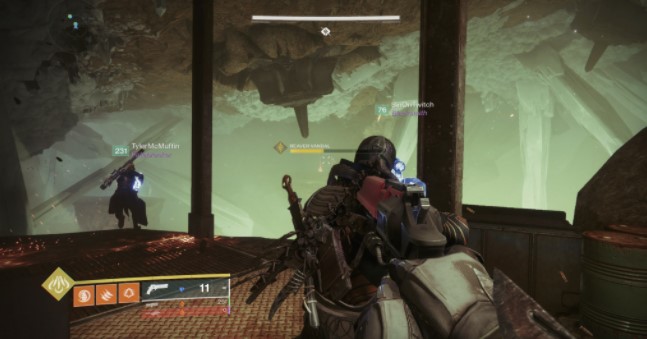
The first Reaver Vandal is located right after entering the loot cave located at the start of the dungeon. When you walk along the narrow walkway in the cave, you will be able to find the Reaver Vandal located on the cliffs to the right. If you want to get the Burden by Riches debuff, you will have to kill the Vandal. After doing so, the next thing that you need to do is to turn around and go back to the way that you came towards the metal scaffolding. The chest will be seen at the top of the scaffolding. Upon seeing it, please open it while you still have the debuff.
Chest 2:
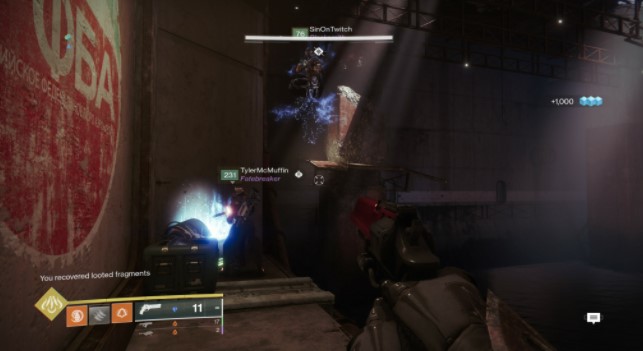
Finding the second Reaver Vandal can be done easily right after the large cylinder is rolled down the stairs when he tries to attack you. It is a must for you to avoid the incoming trap and go to the room where you usually climb into the vent so that you can go further. When you are there, all the thing that you have to do is to crush the Reaver Vandal on the left by some boxes until an engram is dropped by him. After that, go into the vent quickly by bringing your debuff. In the next step, go right, left and then go immediately right along the wall when you exit the vent. In the end, the chest should be seen on a small platform.
Chest 3:
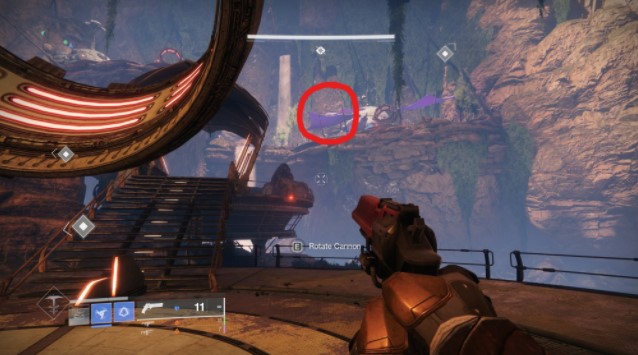
The last chest is only possible to be accessed once you are done completing the Fallen Shield encounter. First of all, you will need to go to the center of the island. Then, please point the cannon towards the back of the room. Make sure to do it instead of launching yourself up into the huge hole that you made before. The next thing that you should do is to activate the gravity lift through the Scorch Cannot and release yourself to the other side of the room. The Reaver Vandal will be able to be found hanging around a small stream. When you see it, do not wait and damage him until some engrams are dropped. When they are dropped, collect everything and go back to the center of the island. Since there is only 30 seconds for you to reach there, you are suggested to either have the cannon already pointed towards the middle island or pop Top Tree Dawnblade. These two options are effective to fly over the gap.
For anyone who is either a Hunter or Titan, it is better for you to have someone that is ready to launch you with the cannon to the center. If there is no one, it will be hard for you to reach there since there is no enough time.
It does not matter which one that you use to get to the center of the island, after you are there, you will have to climb onto the roof of the large round building that is located in the middle. On that spot, the chest should be seen. Please open it to be rewarded with the Gjallarhorn Catalyst. Once you have successfully obtained the Gjallarhorn Catalyst, feel free to either finish the dungeon or leave. It does not really matter which option you choose. When this catalyst is completed, the process of reloading the rocket launcher will be faster. In addition to that, it is also able to make the additional and strong missiles every time the Wolfpack rounds that you have kill an opponent. If you are wishing of completing the catalyst, all that you have to do is to kill a total of 400 opponents by using this rocket launcher in any activity.
If the guide above is not clear, you might want to watch the tutorial video by going to: https://www.youtube.com/watch?v=pdzLsrbXIjU.

AUTHOR BIO
On my daily job, I am a software engineer, programmer & computer technician. My passion is assembling PC hardware, studying Operating System and all things related to computers technology. I also love to make short films for YouTube as a producer. More at about me…


Leave a Reply