
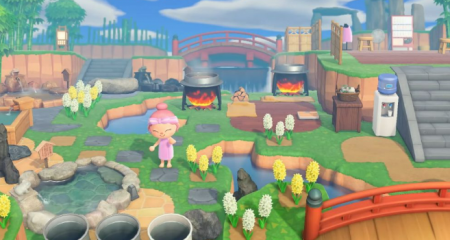
Animal Crossing: New Horizons brings a number of features along with 2.0 update. One of the amazing features that make the players so surprised is the new Pro Camera App. This app allows the players to take more photos at new angles and also interact with villagers and NPCs.
Since the Pro Camera App was released, a lot of players really wonder how the camera app works in the game. If you have not used this new camera app in the game yet, you may want to know how worthy the Pro Camera App is in the game. So, let’s find out everything about the Pro Camera App through our post below!

What Does a Pro Camera App Work in ACNH?
The new Pro Camera App definitely gives the players the opportunities to see from a first-person perspective. For the first time, the players will have a chance to see just how big and beautiful your island truly is.
With the use of the new Pro Camera App, we will be able to zoom into the level of your shorts, occupy your space and also stubby villagers. This new camera app actually gives the players much more freedom to snap photos around their island.
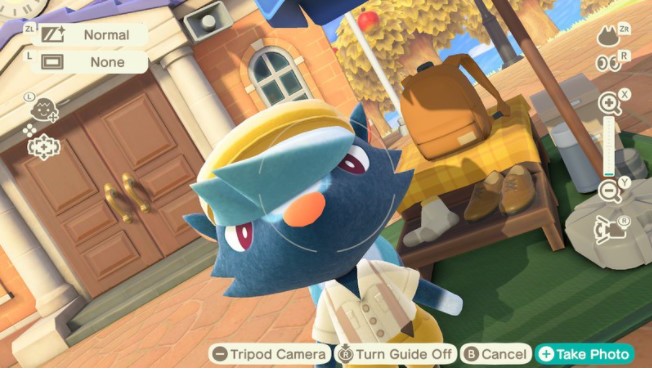
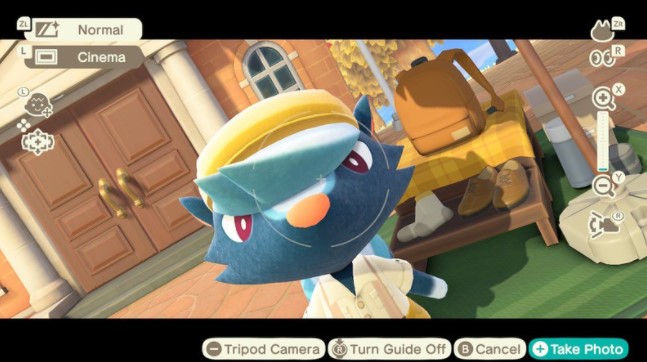
The new Pro Camera App actually has two modes including Handheld Camera and Tripod Camera.
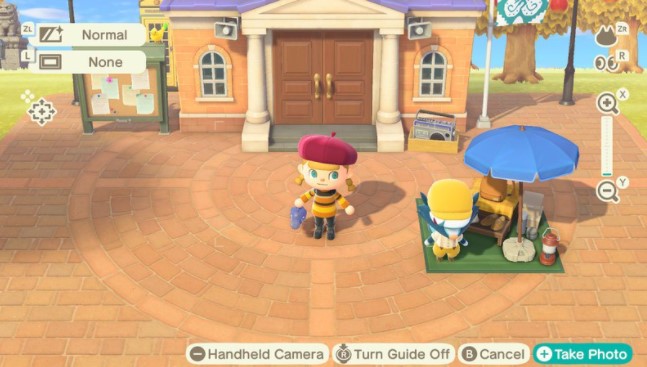
- The Handheld Camera will put the photo angle and drake at eye-level. It is really similar when you are holding a smartphone and taking a photo from the front-facing camera.
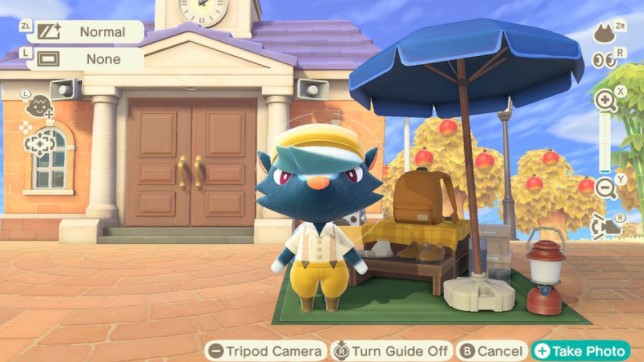
- The Tripod Camera will allow you to keep the same frame and angle. In the shot, you can also join your villagers and NPC, as if the camera or phone is on a real tripod and hands-free.
How to Unlock Pro Camera Apps in ACNH?
In order to get the new Pro Camera App in Animal Crossing: New Horizons, you may need to update your game to the 2.0 version. After you update the 2.0 version of ACNH, there will be new things available to buy from the Nook Stop Machine in Isabelle and Tom Nook’s Office.

To unlock the new Pro Camera App in Animal Crossing; New Horizons, you just simply go to the Nook Stop in Resident Services. You can then click on the ‘Redeem Miles’. Then, scroll down until you find the ‘Pro Camera App’ feature.
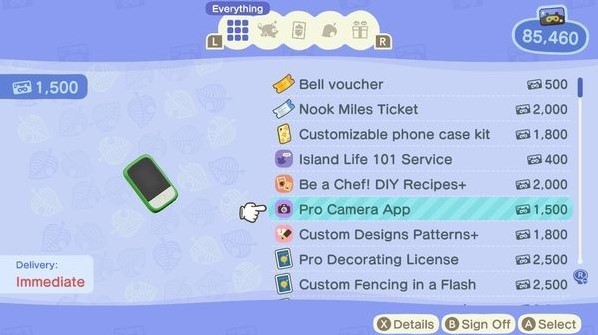
To purchase the new Pro Camera App, you may need to spend around 1,500 Nook Miles. Then, click on the ‘Redeem’ button to purchase the new Pro Camera App. After you purchase it, the camera app will automatically be added to your in-game phone.
Congratulations! You already have unlocked the new Pro Camera App in Animal Crossing; New Horizons. So, it’s a great time to start taking your first pictures and experience taking any pictures around your own island.
How to Use the New Pro Camera App?
To perfectly use your new Pro Camera App, it’s highly recommended for you to learn more about all features on the camera app. Here’s how to use the new Pro Camera App in ACNH!
- First, you need to press the ‘ZL’ button on your Nintendo Switch to access the new Pro Camera App.
- After clicking on the button, the app will be available on the front panel in the top-left corner.
- Here, you will have a bunch of different options to gain the perfect pictures.
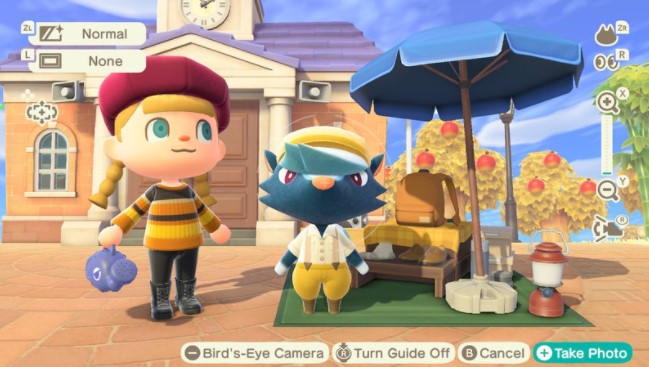
- You can choose one of the different camera types either Handheld camera, Tripod camera and Bird’s-Eye camera. Handheld camera mode will lower the camera to eye level. Tripod camera will hold the camera at one spot, so you can find the perfect angle for the pictures. Last, you can use Birds-Eye mode to see the scene zoomed out.
That’s how to use the new Pro Camera App in Animal Crossing: New Horizons. So, it’s your turn to start using the new Pro Camera App feature in Animal Crossing: New Horizons.
Learn about All Features on Pro Camera App
Just like the real camera, the new Pro Camera App in ACNH also has a bunch of camera modes and options, as well as the amazing feature within. To make it easier for you to get the perfect photos using the Pro Camera App, it would be better for you to learn about all features on Pro Camera App. Here are they:
- Bird’s-Eye Camera Mode

Bird’s-Eye Camera mode is the basic mode that you will have on the Pro Camera App. - Handheld Camera Mode

Handheld Camera mode will be great for close-up shots. When you press the ‘-‘ button as the camera interface is up, it will allow you to walk around and take pictures from your avatar’s point of view. You definitely can rotate the camera vertically, not horizontally when outside. But you can pan the camera for a more dynamic scene if you are in your house or the Roost cafe. - Tripod Camera Mode

When you press the ‘-‘ button, your character will put down the camera in a place where you were standing. Then, it can be moved to be in the picture. - Get Villagers’ Attention

When you press the ‘R’ button, you will gain the attention of any villager in your shot. When your villagers notice you, they may wave or do something else. - Reactions

You can use the ‘ZR’ button and select from your list of unlocked Reactions. After that, the villagers beside you will respond to your actions. - Turn Off Icons

If you press in the right joystick, it will make all of the interface icons far away for a clear view. However, this feature is really useful for the players who want to create a clean video. - Zoom In and Out

To zoom in your camera, you can press the ‘X’ button, while to zoom out your camera, you need to press the ‘Y’ button on your controller. However, there will be a limit to how far the camera will go. So, you may have to move your villager backward or forward for a more perfect shot in some examples. - Rotate & Move Camera

You can use the D-pad or four buttons on either the left of your controller or left D-Joy Con. By using it, it will allow you to rotate the camera vertically or horizontally. - Filters

You can press the ‘ZL’ button on your controller to change the hues of your image. - Borders & Misc

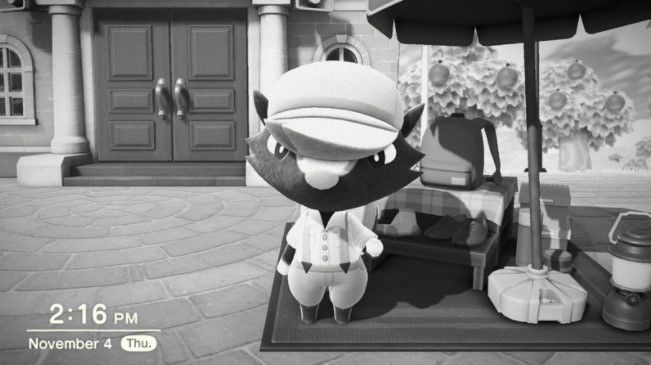
To add more things to the pictures such as the date or a time stamp, you can use the Borders & Misc feature by pressing the ‘L’ button.
- Bird’s-Eye Camera Mode


AUTHOR BIO
On my daily job, I am a software engineer, programmer & computer technician. My passion is assembling PC hardware, studying Operating System and all things related to computers technology. I also love to make short films for YouTube as a producer. More at about me…


Leave a Reply