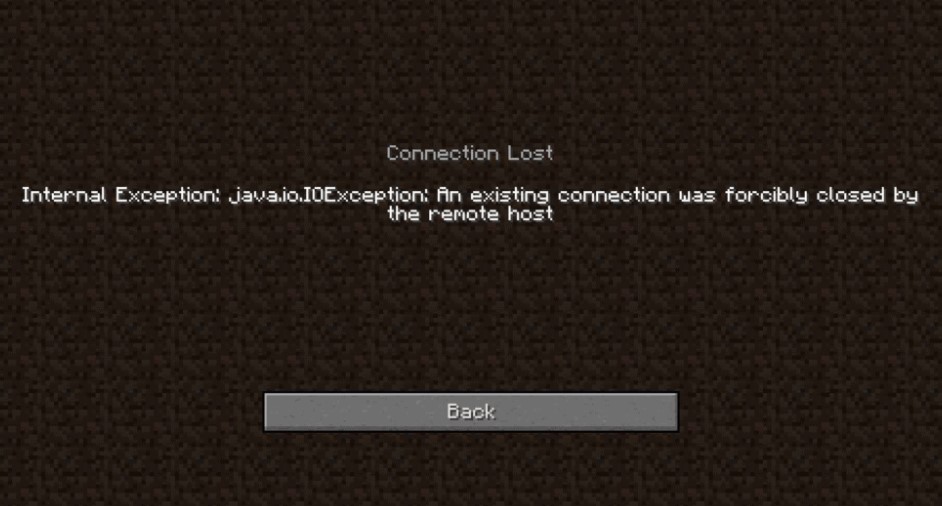
When attempting to log in or access your Minecraft server, you may get the Internal Exception: java.io.IOException error. Usually, this error can occur due to some reasons. The common reasons for the error are firewall blocking the connection, internet connection, and router issues. Now, in this page, we are going to explain some ways to fix that error.
Way 1: Disable Windows Firewall
Probably, the error due to Windows Firewall block your Minecraft server connection. To know whether Windows Firewall is the culprit of the issue, you have to try disabling Windows Firewall. Here is a way to disable it:
-
- Click on Start and then select Settings.
- Please open Update and Security.
- After that, click on Windows Security.
- In this step, you have to scroll down and click on Firewall and network protection.
- Just click on your currently active network.
- Please toggle the switch to disable Windows Firewall.
- After disabled Windows Firewall, you will be able to launch Minecraft to know if the error is resolved.
If the error is resolved, do not forget to disable public access for Java™ Platform SE Binary. To do that, follow these steps below:
-
- At the first step, press Windows Key + R.
- After that, type appwiz.cpl and click OK.
- In the Control Panel, you have to go to System and Security.
- Then, open up Windows Defender Firewall.
- You need to click on Allow an app or feature through Windows Defender Firewall link from the left pane.
- Afterwards, locate Java™ Platform SE Binary.
- Also, you have check the Private box for the option. When there is more than one option for Java Platform, you have to mark all of them as Private.
- You are almost finish. In this step, you need to click OK to save the changes.
- Lastly, simply reboot the computer and connect to the server to know if the error is resolved.
Way 2: Change IPv4 DNS Address
Another way to fix the error is by changing IPv4 DNS address. To do that, follow these steps:
-
- Please open up Run.
- Type control and then click OK.
- In the Control Panel, you have to go to Network and Internet.
- Then, you have to click on Change Adapter Settings from the left pane.
- You need to right-click on network adapter and then choose Properties.
- Please scroll down and double-click on Internet Protocol Version 4 (TCP/IPv4).
- Select an option; Use the following DNS server addresses.
- Now, you have enter the following in the Preferred and Alternate DNS server field, respectively: 8.8.8.8 or 8.8.4.4.
- The last step that you have to do is to click OK to save the changes.
Aside from the Google DNS server address, you are also able to utilize other third-party, public DNS server address if you wish. Try starting to your server and then check if the issue is resolved.
Way 3: Check Your Network for Issues
If your Smartphone has a cellular data, try making a WiFi hotspot on your phone and then connect your computer to the network. You will be able to connect to the Minecraft server and check if the error is resolved. If you connect to the server through the wifi hotspot, probably the error occur due to your home network. So, you have to restart your home network by doing these steps below:
-
- Firstly, make sure that your modem or router is powered on.
- After that, pull the power from the router to turn it off.
- Then, disconnect the ethernet cable.
- In this step, leave the device idle for a few minutes.
- The next step is to reconnect the Ethernet cable and power on the router.
- Now, you have to wait for all the LED indicators on the router to stop blinking.
- You will be able to connect your computer to the network and check if the issue is resolved. In addition, if the issue still persists, you are able to contact your ISP (Internet Service Provider).
Way 4: Change Server-Side View Distance
Changing server-side view distance can be a solution to fix this error. Make sure that you follow all these steps below.
-
- Firstly, you have to stop the server if running.
- Then, click on Files.
- After that, choose Cong Files.
- Select Server Settings.
- Please locate the View Distance option.
- Please change it to 4.
- You need to scroll down and click Save to apply the changes.
- Now, you are able to start your server and check for improvements.
Way 5: Reinstall Java
-
- At the first step, press Windows Key + R to open Run.
- Then, type control and click OK.
- You have to click on Uninstall a program.
- Please choose Java from the list of installed apps.
- Now, you have to click on Uninstall.
- Once uninstalled, download and install the latest version of Java.
- Lastly, you only need to reboot the computer and check for improvements.
Way 6: Reinstall Minecraft
-
- At the first step, press Windows Key + R to open Run.
- Then, type appwiz.cpl and click OK.
- After that, choose Minecraft from the list of installed apps.
- In this step, click on Uninstall. Click OK to confirm the action.
- After uninstalled, simply download and reinstall the latest version of Minecraft.
Way 7: Contact Minecraft Support Team
The last solution that you can do to fix the error is to contact the support team of Minecraft. Of course, they will help you to fix your issue. At this time, open a ticket and write down the issue with the error Internal Exception: java.io.IOException and then send it. Hopefully, the problem is resolved and you will be able to access the Minecraft server. In addition, you are free to run the Game Booster. It will help you to fix the low FPS and improve the gaming experience in Minecraft.
AUTHOR BIO
On my daily job, I am a software engineer, programmer & computer technician. My passion is assembling PC hardware, studying Operating System and all things related to computers technology. I also love to make short films for YouTube as a producer. More at about me…





Leave a Reply