Screenshots are needed when you want to save the important screen or send it to another one as it is or you may want to take a screenshot just for fun. They are able to be taken in a lot of ways. The methods that you can use to take a screenshot differ in Windows and Mac. Taking a screenshot is really easy as all that you need to do is to press some keys but if you want, you are able to take a screenshot without using a keyboard as well.
Apple offers an amazing utility app called Grab. This one is able to be used if you want to get any type of screenshot. It can take everything, including full screen or a portion of the screen or even timed screen where you are able to get 10 seconds to switch to another screen.
Here is everything that you need to do if you want to take a screenshot on Mac with Grab or without keyboard:
- The first thing that you will need to do is to go to the Applications, then Utility, then click on Grab. It can be done with the help of a mouse. Doing so will make you able to see the menus displayed in the upper left of the screen, but no windows will open.
- From the main menu of the app, click on the tab, click the Capture menu, and then click on one of the four different options offered. From this step, you are able to choose the area that you want to take the screenshot of.
– If you want to take a screenshot of the whole screen, you can just click on Screen. There will be a window popping up telling you where to click and allowing you to know that the window will not show up in the shot.
– If you want to take a screenshot of a portion of the screen, the one that needed to be clicked is Selection. You will be able to see a window telling you to drag your mouse over the portion of the screen that you want to capture.
– If you want to take a picture of a certain window, please click Window. After that, click on the window that you want to take the screenshot of.
– If you want to use a timed screenshot, then please click on the Grab menu, and the Capture, and then Timed Screen. You have 10 seconds to adjust the screen for a screenshot otherwise the entire screen will be captured.
- You will be asked to save the screen captured. Apart from that, you will also be able to change the name of the screen and save it with another filename.
The app named Grab provides the high resolution screenshot and the file will be saved as .tiff format, even though in the end you are able to change the file extension to .png or .jpg if you want.
With the help of Mac, everyone is able to take a screenshot without having to use the keyboard even though each Grab command has a keyboard short cut. If you want to try to take a screenshot with a keyboard, there are three ways that you can try.
Taking a screenshot of the whole screen
- Firstly, make sure that the screen shows up exactly that you want to show in the screenshot image. Please make all the relevant windows visible.

- Then, press Command + Shift + 3 at the same time. If you turn on the sound, you should hear a brief camera shutter noise from the computer.

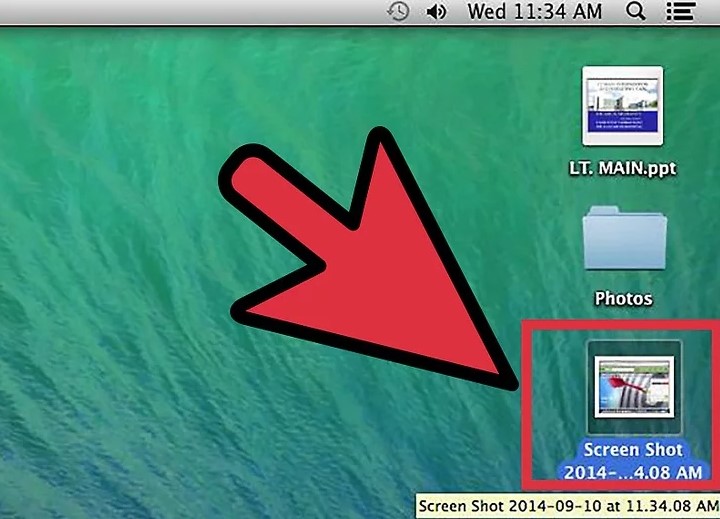
- After pressing the key combination, find the screenshot on the desktop. Apparently, it will be saved as a screenshot named with the date and time. As for the earlier versions of OS X, it will be saved as Picture #. For instance, it will be named as Picture 5 if it is the fifth screenshot of the desktop.
Taking a screenshot of the portion of the screen
- The first thing that you will need to do is to press Command + Shift + 4 key combination.

- Next, click and drag the cursor to highlight the area that you want to take the screenshot of. You should be able to see the grayed rectangle where you drag the cursor. If you want to adjust the windows at all, please press Escape to return to a rectangular cursor without having to take a picture.

- Then, let go of the mouse. The brief camera shutter sound should be heard if the sound of the computer is turned on, indicating that the screenshot has been taken.
- Once it is done, locate the screenshot on the desktop. For those who have no idea, it will be saved as a .png file name screenshot with the data and time. As stated before, the earlier version of OS X will save it as Picture #.
- Once you have found the screenshot, feel free to use it as you want. You can send it through an email, upload it to the web, or even drag them straight into the app such as a word processor.
Taking a screenshot of the open window
- First of all, press Command + Shift + 4 and press the Space bar. The cross hard will be turned into something like a small camera. The Space bar is able to be pressed again if you want to switch back to the reticle.

- After that, move the cursor over the window that you want to capture. Some different windows will be highlighted as blue as it moves over them. You are able to use the keyboard commands such as Command + Tab if you want to shift through the windows while you are still in this mode.
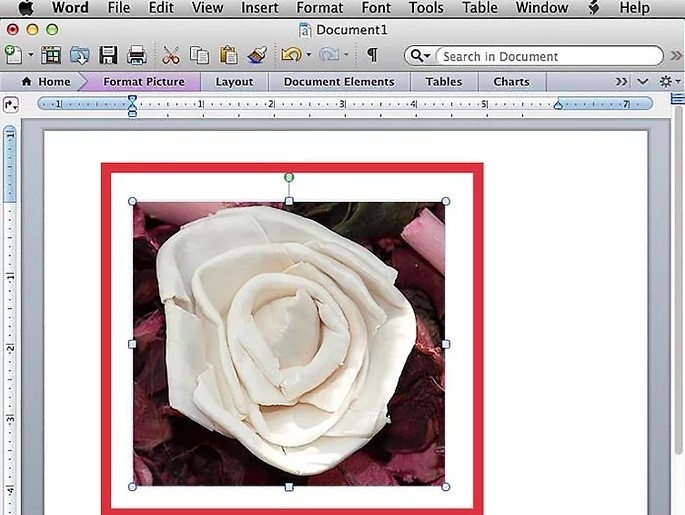
- Lastly, click on the window. When it is done, the picture of the window that you chose will be saved to the desktop by default just like the other screenshot methods above.
AUTHOR BIO
On my daily job, I am a software engineer, programmer & computer technician. My passion is assembling PC hardware, studying Operating System and all things related to computers technology. I also love to make short films for YouTube as a producer. More at about me…





Leave a Reply