
When you are trying to pair your AirPods to your devices such as an iPhone, Mac, iPad or an iPod Touch, but then you find that the connection is failed, then you have to fix it. There are some methods that you are able to apply for fixing this error. What are they? Check them below.
Refreshing Your Bluetooth Connection
You pair your Airpods earbuds through Bluetooth connection and if you have an issue when you are pairing it, you are able to try to reset your Bluetooth. You are able to do that by turning it off and then turning it on again. After that, you have to go to your phone settings and then you have to access the Bluetooth option. Then, toggle the button to Off. After that, you have to toggle it back to On and then you are able to try pairing again.
Moving Your Airpods Closer

The connection failed error can happen because your iOS or Mac device is far from your AirPods. It is important for you to know that even though it works wirelessly, however it has a maximum distance between your device and Airpods to pair them. So, the thing that you are able to do is to try to move your AirPods closer to your device and then you are able to try to reconnect it.
Restarting Your Device

Restarting a device is a basic solution that usually can fix any problems. If you restart your device, it will refresh your connection and processes. So, you are able to try to close all the running apps and then shut down your mobile device. Then, you are able to turn it back on and then try to reconnect your AirPods.
Reconnecting Your AirPods
You are also able to fix this issue by forgetting your AirPods from your Bluetooth connection and then try reconnecting it. Do you know how to do that? You are able to do that by firstly going to your phone settings. After that, you have to access the Bluetooth option and then you have to look for your AirPods. Next thing that you have to do is to tap the small letter I icon and then tap Forget This Device.
Then, when you reconnect it, you have to put your AirPods inside the charging case and then you have to close it for 30 seconds. Then, you are able to open it again. At the back of the case, you have to hold the setup button until you find that the while lighting is flashing. Now, you have to move your AirPods closer to your device and then you have to follow the instructions on how to reconnect it.
Making Sure Your Charging Lid Is Open
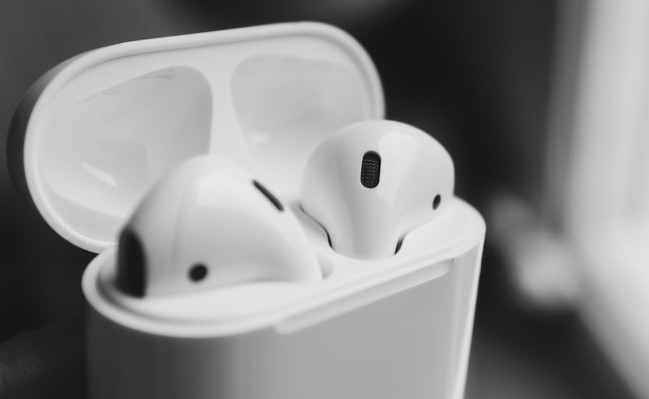
When you are pairing your AirPods, you need to remember that you have to keep the charging case open. If you close it, a connection error can happen. So, now you are able to open your charging lid and then you are able to try pairing it again.
Recommended Solutions By Apple Support
If you access Apple Support, you are able to see that there are some efforts that you are able to do when you find that you are not able to connect to your iPhone, iPad or iPod touch. What are the efforts that you are able to do according to Apple Support?
- You have to make sure that your iOS or iPad OD device has the newest compatible software.
- You have to learn what to do if only one AirPods is working.
- You need to open the Control Center and then you have to make sure that Bluetooth is on.
- You have to puth both AirPods in the charging case and then you have to make sure that both Airpods are charging.
- You need to access Settings and then choose Bluetooth. If you find that your AirPods are connected, you have to make sure that they are chosen as your audio device. However, if you find that they are not connected, then you have to go to the next step.
- You are able to try to close the lid about 15 seconds, and then open the lid again. After that, you have to press and hold the setup button on the case for up to 10 seconds. You should see that the status light flashes white. It means that your AirPods are ready to connect.
- You have to hold the case, with your AirPods inside and the lid open, beside your iOS device.
- You have to follow the steps on the screen of your iOS device.
- You have to test your AirPods. If you find that you cannot connect it, you are able to try to reset your AirPods.
If you are not able to connect your AirPods 2nd generations to your Mac, you have to make sure that your Mac has macOS 10.14.4 or later. However, if you are using the AirPods 1st generation, you have to make sure that your Mac is using macOS Sierra or later.
You have to select the Apple menu and then choose System Preferences. After that, click Bluetooth. If you find your AirPods appear in the list of devices but they do not connect, you have to remove your AirPods from the list by following the steps below.
- You have to choose your AirPods in the list of devices.
- After that, you have to click the X to the right of your AirPods.
Now, you have to add your AirPods to the devices list in Bluetooth preferences again by following the steps below.
- You have to put both AirPods in the charging case.
- After that, you have to open the lid of your charging case near your Mac.
- In the device list, you have to choose your AirPods and then click on Connect.
Now, you are able to test your AirPods. If you find that it cannot connect, then you are able to try to reset your AirPods.
We hope that this information can help you in fixing your AirPods which cannot connect to your device.

AUTHOR BIO
On my daily job, I am a software engineer, programmer & computer technician. My passion is assembling PC hardware, studying Operating System and all things related to computers technology. I also love to make short films for YouTube as a producer. More at about me…


Leave a Reply